Pole and All the Comforts of Home!
Home is a beautiful place: it’s a sanctuary of comforts, and a treasure trove of what makes me tick. I imagine you may feel the same: for me, anything that fits with the look and feel of everything I am can have a place in my home. Considering this, perhaps it’s no surprise that when I discovered pole as a fitness venture, I soon wanted to “bring it home” for all variety of reasons. I’m sure you’ve had a few of these thoughts as well:
- I love my hometown studio (in my case, Lime Light Fitness), but how can I make my new habit more affordable?
- Where can I practice my new skills without distraction, with my own music?
- How can I fit more practice or moments of creative inspiration into my schedule?
- Where can I practice different personas without the anxiety of an audience? (even if it’s not my style, we’ve all had a brief moment considering our exotic dancer dreams, am I right?)
- How can I ensure my family thinks I’m a real piece of work with dreams of joining Cirque du Soleil? *wink*
Like most home improvement projects – because adding a pole is home improvement! – it’s a good idea to form a plan: the good ol’ measure twice and cut once to avoid costly mistakes idea. I wanted an exercise space embracing pole: something accessible and welcoming enough to want to pole here. Like any great project, creating this space didn’t happen overnight and I learned quite a bit along the way!
Where is it going to go?
Non-pole people have the most well-intended and hilarious assumptions about adding a pole at home: everyone thinks it’s going in the bedroom, like “Hooray – you’re building a pleasure space in the bedroom!”
Why on Earth…?! I mean, would you put a treadmill or weight station in your bedroom?! Don’t get me wrong, I see how a studio apartment or similar space-limited set-up would make sense out of necessity (or, you know, living out exotic dancer dreams every night – why not? *wink*), but… really?
I digress. We have a fairly open floor plan and I was eyeing the lovely wood floor space in the living/dining/kitchen area. I was also eyeing the untouched basement (literally untouched: we’re talking concrete floors, insulation and drywall, and creepy light bulbs). Both areas have 9’ ceilings, East facing windows, and a minimum 4-foot radius of movement around the intended pole placement.
For me, the basement won. Having any kind of floor space for a pole is nice, but having a smooth floor is even better for bare feet (or heels, if heels are your thing)! Depending on the budget this could be industrial plastic tiles, vinyl, or a gorgeous mobile wood floor from Home Pole Studios… you get the idea. Obtaining a lovely, mobile wood floor has been on my birthday wish-list for two years… *sigh* priorities… Maybe this will be the year!
Moving on: having space for a mirror or two is helpful, too; checking form, pointed toes, and micro-bends is always beneficial! Perhaps equally practical: get a mirror for the Instagram! *wink* All joking aside, mirrors let you film your progress with a little extra creativity and extra angles. Obtaining used mirrors is fairly painless: many people are getting rid of all variety of mirrors at exceptionally low prices in online marketplaces or at local thrift stores.
What kind of pole do I get?
I wanted something that would let me practice everything I learn at the studio, so finding the right pole meant finding one that:
- Does both static and spin.
- Installation or moving it is a one-person job.
- Installing or moving it is easy and fairly idiot-proof.
- Secure enough to handle acrobatic moves.
I ended up getting a tension-mount, stainless steel pole that fits all the above requirements. 90% of the time I love it, 5% of the time I curse newer pole technology coming available since I selected it two years ago, and 5% of the time I’m laughing over my own grip-aid mishaps: grip is a little different on a 42mm stainless pole at home versus the 45mm and 50mm chrome poles at my local studio!
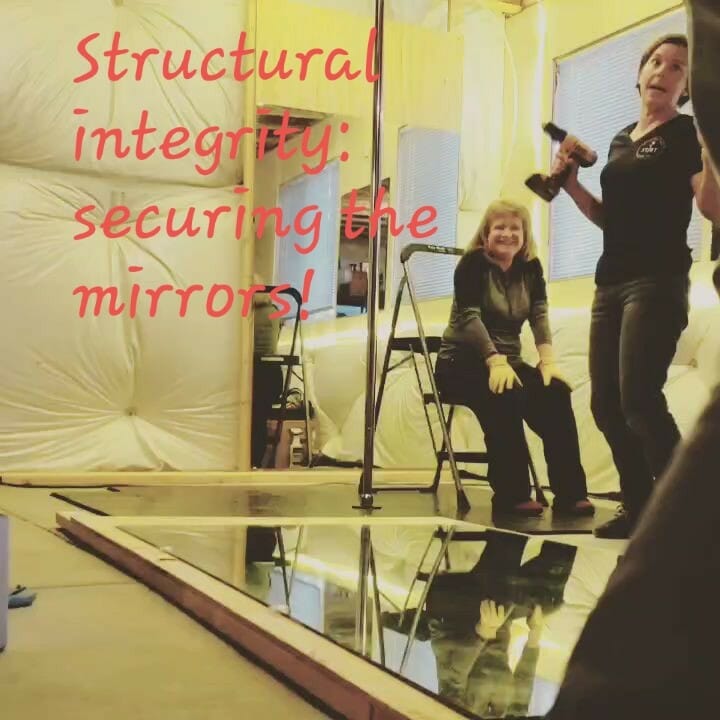
I’m blessed with having a structural engineer in my family. By blessed, I mean I’m exceptionally lucky I didn’t have a “loose pole incident” the first few months my pole was up. I’m equally fortunate I didn’t have a “loose mirror incident” since I had my (huge) mirrors propped (precariously) against the wall balancing on little more than hopes and dreams. My mom and dad generously helped make a secure ceiling piece in the unfinished basement, and I was able to sucker them into helping me mount the mirrors on plywood in a make-shift (and much more secure) wall.

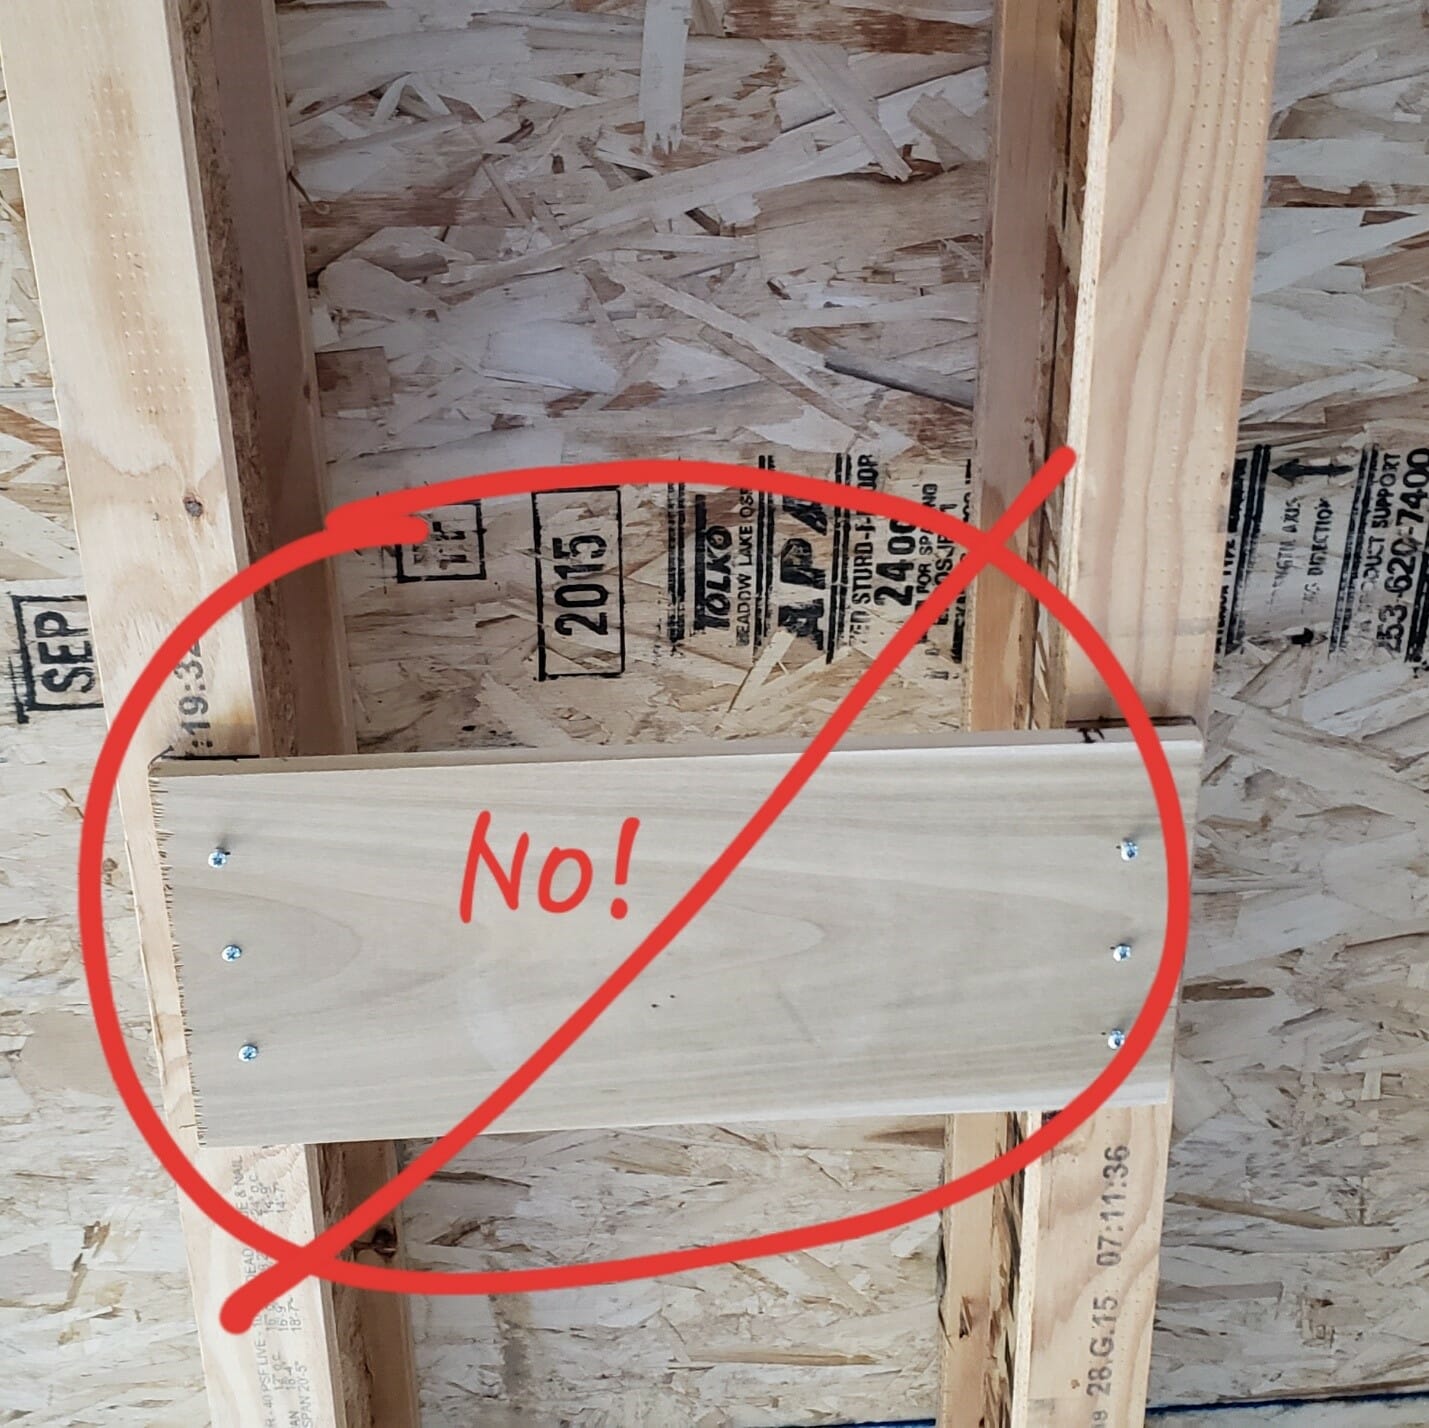
- Whichever way the pole is secured, be it with screws or tension, secure it to/against studs and NOT just drywall… and NOT a thin, barely-screwed in place board across an unfinished ceiling.
- Consider either drawing a circle around the mounts to show if/when it slips out of alignment, or cutting a circle out of a “safety board” that will help keep it upright and aligned.
- Keep a level measure handy in your pole area and check your pole regularly!
Making the pole space “mine”
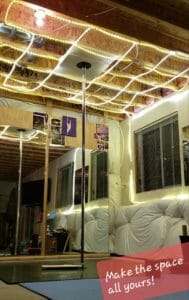
To be honest, the first 18 months I had it I didn’t use my home pole more than once a month, if even that often. So what changed? [picture: hanging lights] This winter I had extra time off from work and spent a few days on the finishing touches making me want to be in my home pole space. I added overhead LED rope lights. I acquired a small table and a shelf for towels, grip aids, a jewelry holder, my laptop, and portable speaker.
As well, I added a few practical elements like barbells, resistance bands, a couple yoga blocks, a foam roller, and a yoga mat. The finishing touch was hanging a few pole-related decorations. It is such a small detail but does so much to get my heart in the game: in my case, these decorations are pictures from competitions and other inspiring pole memories and leaves plenty of space for more yet to come!
While by far the smallest and least costly pieces, the last few decorations make me want to be in my pole space, and fill me with joy from my favorite pole moments thus far.
I want one, too! What does a project like this cost?!
The running tally is still under $1,000… My floor covering is currently a re-purposed wedding gift of plastic tiles intended for the garage that were in their boxes collecting dust and obviously needed to be my pole floor instead. The two large mirrors I found second-hand for $80 total, the plywood, studs, and mirror mounting supplies came to $80. The table and shelves were re-purposed give-aways. The pole was the most expensive piece coming from Lupit Pole and cost around $350-$400 after shipping and such. All the lighting and decoration I chose were around $100 and are completely subjective to your own tastes. Happy home poling!

- Pole and All the Comforts of Home! - May 10, 2019
Related Posts