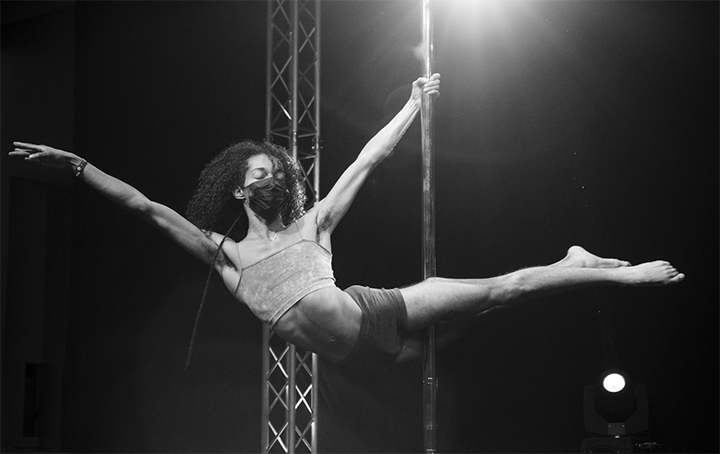
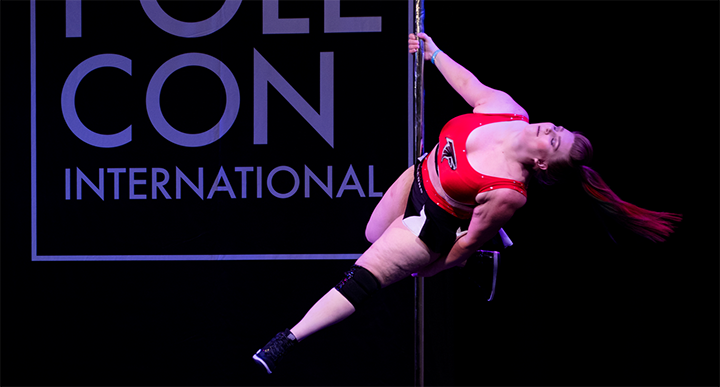
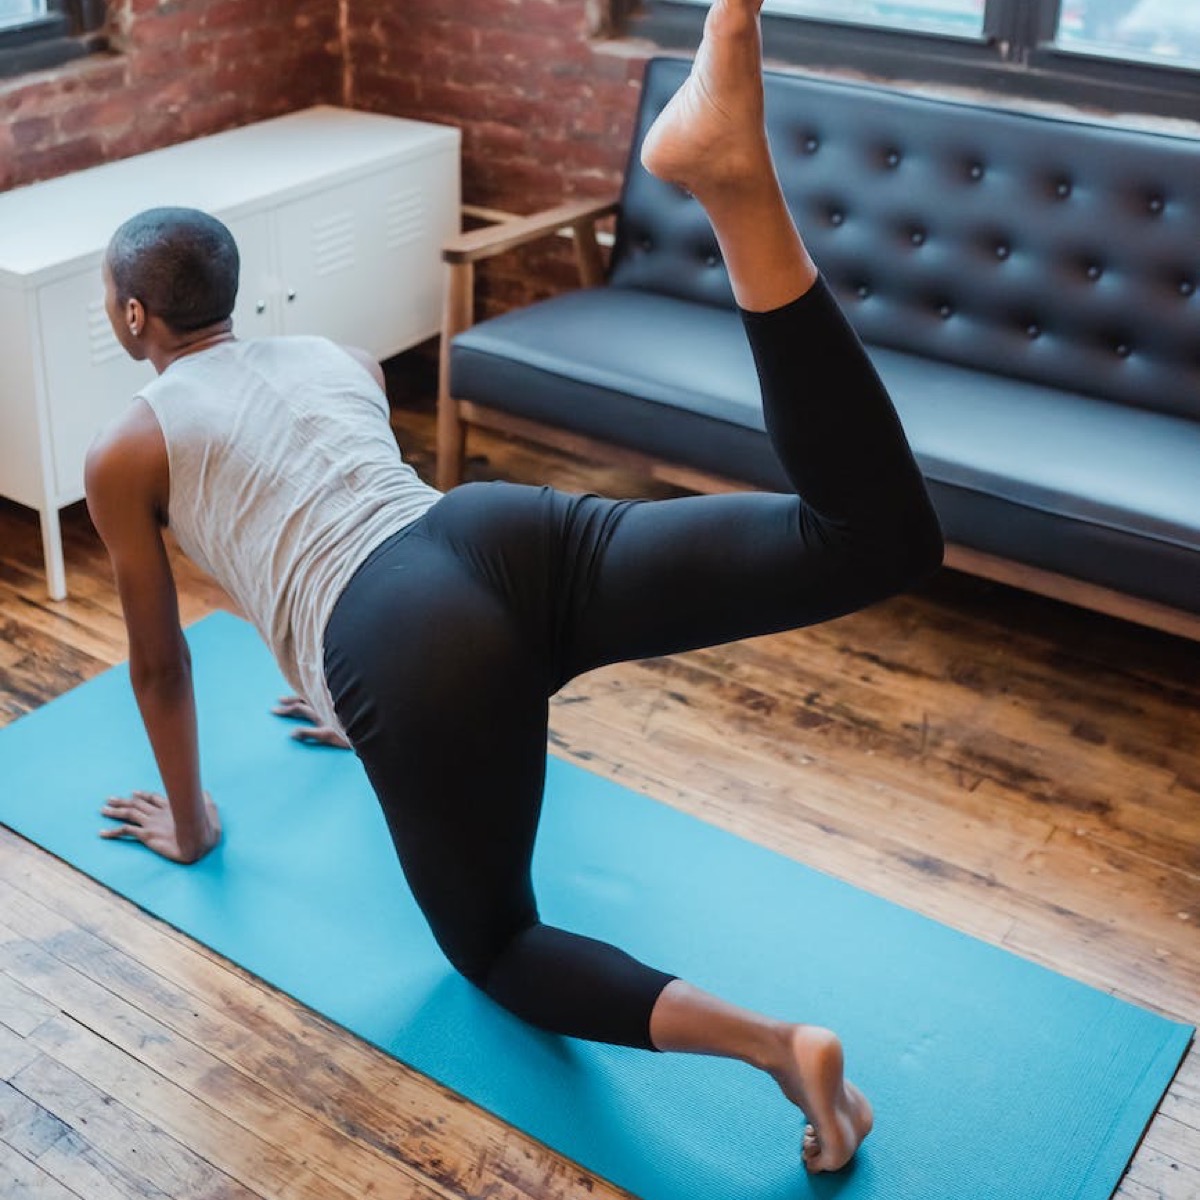
I recently saw a reel on Instagram with this tall, thin, gorgeous 20 something young…
Now It’s Time To Activate
I am hearing the 20th Century Fox movie fanfare playing as I type because Ladies and Gentleman get prepared to do something big. We are going to learn our first activation: Breathing.
But first, lets talk a little bit about activations and what I mean when I use that word.
Here is the dictionary definition of the word activation
ac·tiva·tion
/ˌaktiˈvāSH(ə)n/
noun
noun: activation; plural noun: activations
- the action or process of making something active or operative.
This is exactly what we are going to do. Using your fingers and thumb, we will be pushing, poking and rubbing on specific parts of our body to make our bodies more “active” and “operative”.
How do we Activate?
I want you to take your pointer finger and middle finger and push on your forearm – find that meaty spot right below your elbow. Starting at a level 1 of pressure we are going to move slowly until we are at a level 10. Level 1 is where you are barely touching the skin and applying almost no pressure. A level 10 is where you are pressing so hard that it feels like you are going to bore a hole through your arm. Go ahead and put your fingers on your forearm using a level 1 pressure, now slowly increase the pressure until you get to what feels like (for you) a level 5. This is medium pressure.
What are you feeling? Can you feel the tissue, ligaments or bone? Can you feel any other tissue under your fingers? Does it hurt? Check in with your body before we move on.
Now, still with that level 5 pressure, slowly move your fingers side to side keeping the pressure constant. You can also start to swirl your fingers in a circle staying on the same spot and keeping the same level of pressure.
When you are done, for fun, see if you can increase your pressure up to a level 10 just to see what it feels like. We will be keeping our pressure at around a 5 or 6, but it is good to feel that top end.
Pain is Weakness Leaving the Body
Disclaimer: activating is often uncomfortable or painful. When we are working and find spots that “hurt” those are areas where your body is holding on to something. Skipping over that area allows your body to continue to “hold on”. Working the activation in that area will allow your body to begin to release whatever is stored there. That is what we are looking for. The release of stored “crap” in our tissue is what will realign our brain/body connection and create the “activation”. Don’t be surprised if the next day you are bruised or sore in these areas.
Before We Activate
Anytime we activate we must find a baseline in our body. Just check in and see what our body feels like so that once we activate we can see if anything has changed. For our baseline today, I want you to give me 3 bodyweight squats. While you are doing them just pay attention to your body and see what you feel. I like to pay attention to my ankles, knees and hips because I tend to be tighter in those areas.
And since we know how to take sexy belly breaths now, lets add in 3 of those for our baseline test as well. This first activation works on our breathing so that is a good area to get a baseline.
We Can Delay It No Further…We Must Activate
Full Activation Video:
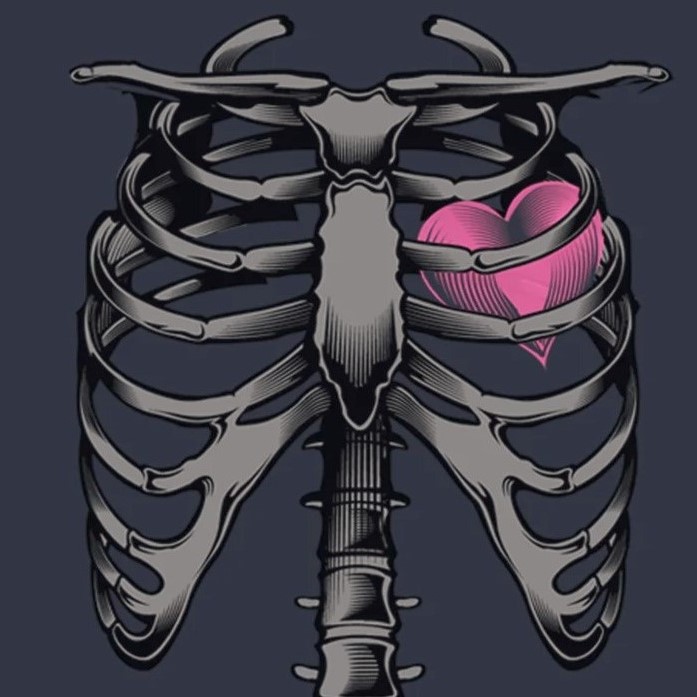
For the breathing activation use your pointer finger and middle finger or your thumb and think about that level 5 pressure we learned at the beginning. The activation point is an inverted “Y”. You start at your bottom rib out to the side of your body and work inwards. You want to be right on the outside of the rib itself. Don’t curl underneath it or fall in the intercostal space between that rib and the one on top of it. Stay right on that rib edge. Take your fingers, and with a level 5 pressure slowly start working up the rib towards the center of your body.
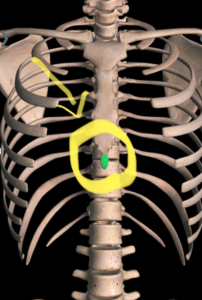 As you are working you may start to feel some of these things under your fingers:
- The rib bone itself, and it might be tender
- Tissue – which can be body fat, or accumulated fluid or fascia or just extra weird tissue your body has created. Sometimes as we work over these spots you can feel the tissue dissolve or move out of your way allowing you to sink down onto the bone
- Tight, thick muscle that is hard to push through. When you find a spot like this just stay on it and make small circles. Sometimes the tightness will dissolve under your touch allowing you to get to the bone
- Area of pain or discomfort. Your first thought might be to skip over these places, but unfortunately this is where the good stuff is. If you hit a painful spot you can do a few things. First, back off your pressure a little bit. Second, just press the spot and hang out, often after 2 -5 seconds your body will relax enough that the spot no longer hurts or you are able to start working on it. Don’t move on until you feel some sort of change in the area.
Take about 1 minute to work each side.
As you move into the middle be aware that there is a horseshoe shaped area in the middle of your ribs. Hanging down in the middle of the horseshoe is a little bone called the Xiphoid process. You want to be careful and not push on that bone, work around the outside of the horseshoe and not in the middle. The good news is that you will probably find the tissue around the outside of that horseshoe to be very interesting. It can be thick and hard to push through, and it can also be painful. Take your time in this area and really work, especially on that corner where the rib moves up into the horseshoe.
Next, we are going to jump up to the bottom of your sternum – that flat boney place between your boobs. Take your fingers or thumb and work straight up the middle of your chest and go all the way up to your throat hole. Don’t go in the throat hole or you might gag a bit (it isn’t pleasant) but stay right on the edge and work for a few seconds.
Once you have reached the top, go back down to your lower sternum and I want you to work just off the side both right and left. You are going to go up the outer ridge of your sternum where your breast tissue and pectoral muscles attach. You should be able to feel this – the area where tissue meets the bone – work all the way back up to the throat hole on either side.
Like when we worked your ribs, stop on any place that is painful, uncomfortable or just feels weird. Work those spots a little bit longer.
This entire activation sequence should only take between 3-5 minutes to complete so we are not cranking away forever just meeting our bodies in these spots, working through what we feel and then moving on.
Full Activation Video:
Take A Minute to Breathe
When you are done with the activation, I would love for you to give me 5 deep sexy belly breaths.
Now, slowly stand up (SLOWLY – this activation can give your brain a huge dump of oxygen and that can make you a little unsteady on your feet) and I want you to walk around for 1 minute or so and see what you are feeling.
Give me 3 bodyweight squats and again, and check in to see what you are feeling.
Success!!!
Congratulations, you have successfully completed your first activation. If you did nothing else but this activation you could get a world of cool changes in your body. This is the foundation of everything else to come. It is easy, powerful and you can do it anytime, anywhere.
Use this activation sequence to:
- Find your breathing after a stressful situation
- Calm your anxiety
- Prepare for learning
- Loosen your body for exercise or training
If you worked through this activation with me, I would love to know how you felt afterwards. You can DM me on Instagram @Heaux_Apparel or shoot me an email at [email protected]. Stay tuned for the next article where we will get introduced to our Psoas muscle and learn how/why it goes into hiding and what we can do to wake it back up.
Latest posts by Susan Bartley (see all)
- Activated Hamstrings Make Your Splits Easier - March 17, 2023
- Re-Train the Brain, Re-Train the Body - March 10, 2023
- Let’s Get Your Glutes Going - January 13, 2023
