Why is it that packing always seems easier and more fun in preparation for a…

Progression to Repel Part 2
Do you ever find yourself in a trance, watching those crazy strong polers and think to yourself, “wow…I wish I could do that…!” Well I have good news for you. With the proper technique and progression, you too can achieve the strength moves of your dreams! In pole, many injuries come from doing incorrect progression and/or body placements when working on butterflies and repels. The following series is a healthy and safe way to learn all Ayesha grips!
Before you try any of the following moves, make sure you read and practice everything in Progression to Repel part 1! That covers all of the necessary pre-requisites for everything covered in this article.
Elbow Grip Ayesha
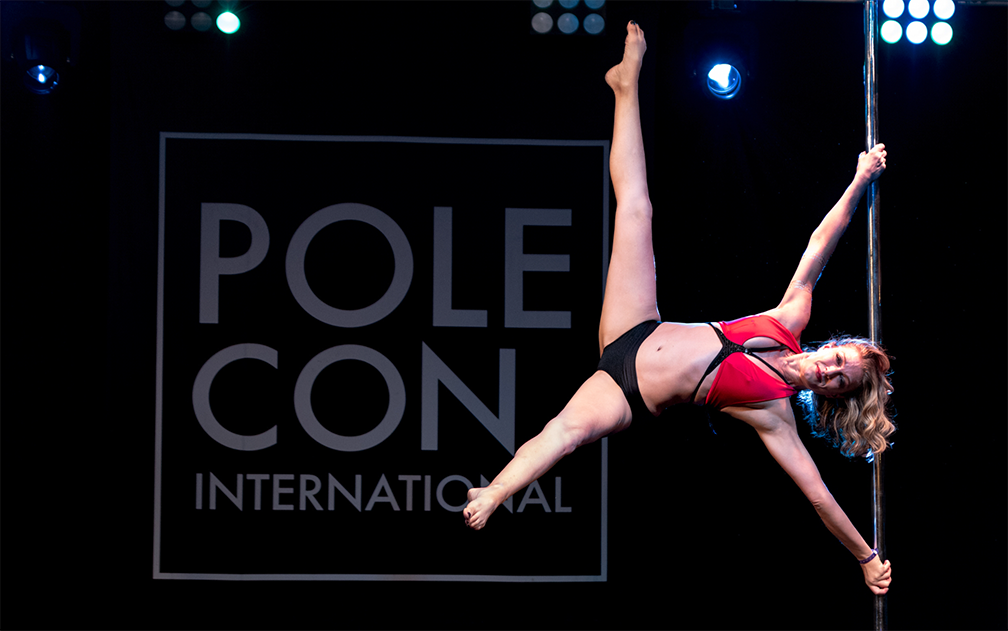
The best Ayesha hold to begin with, in my opinion, is the elbow grip Ayesha. This is because it is just like the caterpillar climbs, using your hand and elbow as grip. Once you can caterpillar climb, easily, at least 3 times consecutively, then it is time to try the Ayesha! Start like you are going for the climb. Instead of pulling your body close to the pole and upward, take your hips away, making a triangle with your body, ankles on either side of the pole. When this pose feels comfortable, release your legs to nice straddle and hold.
Split/True Grip Ayesha
The next best step in your Ayesha travels is the split grip or, as some call it, true grip. This is easiest done from an extended butterfly. Pull your top arm down slightly to form a bend in the elbow. Think of pulling the elbow to its matching hip, then bring your ankles together at an upward angle on the pole. Practice getting comfortable in this position. You can play with isolation hip movements side to side while your ankles are attached to the pole to train your stability in the bottom shoulder and obliques. Once you feel solid, open up to the Ayesha position!
Cup Grip Ayesha
The next best step is the cup grip Ayesha. This is one is very similar to the split grip Ayesha. You will want to set up as if you are going to an elbow grip hold. Instead of hooking your elbow, wrap you hand around the pole, thumb down, with all fingers on the same side. This is grip is more tensioned based so start by pulling your hips away in a similar position as above to create that tension. Once again, get comfortable in this pose and when you feel ready, open out to the Ayesha position.
Twisted Grip Ayesha
I save this one for last because this is the grip of Ayesha that causes the most injuries. I cannot stress enough to not move on to this grip until you have mastered the rest. In this grip, the top arm is wrapped to grab and both arms are straight. Make sure both shoulders are FULLY engaged before opening out. See the do and don’t way of shoulder placement for this grip.
And that concludes all of the main Ayesha Grips. Once again, please practice safe and slow training! Never feel the need to rush through these difficult and advanced tricks!
And as always, happy Poling! =)
Latest posts by Leah Franklin (see all)
- Progression to Repel Part 2 - June 22, 2018
- Progression to Repel Part 1 - May 4, 2018
- Ride or Die: My Pole Bestie - February 16, 2018


